
How to take a card photo with a phone
What you'll learn
Use the camera of a phone or tablet to add the photo of a new card in the Web Print page. The PC saves the photo in its photos folder and names it with the record, as a webcam photo.
Before you start
-
A PC that shares a card with Web Print. See How to share a card with Web Print. This example uses the Larkspur Hill School student card from that page.
-
A photo object linked to the database. In the example, the Photo object uses Picture store DB field as a path to a file, File naming Database field and Naming DB field StudentID. See How to add a photo for each record of a database.
-
A phone or tablet with a camera, and the Web Print link open in its browser. See How to fill and print a card from a phone.
How to take the photo
-
Fill in the ID. Type the StudentID, here
LHS-26021. When you send the card, the PC names the photo with it. -
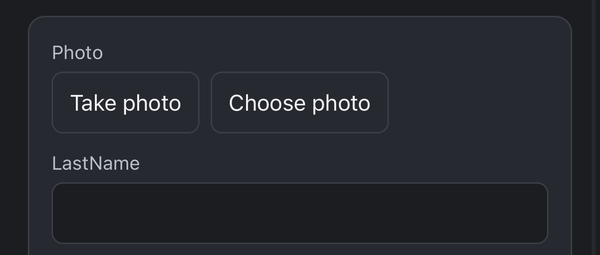
Tap Take photo. Under Photo, tap Take photo. On a phone or tablet, the device camera opens. Allow the camera if the browser asks.
-
Take the picture. Take the photo and confirm it in the camera. The page shows the photo, and the button becomes Retake photo.

-
Or choose a photo. Tap Choose photo and pick a picture already on the phone. To remove the photo and empty the fields, tap Clear.
-
Send the card. Tap Save & Print, or Save & send. The PC saves the photo in the
Photosfolder asLHS-26021.jpg, and thePhotocell of the new record isLHS-26021.jpg.
On a computer, Take photo opens a camera view in the page instead: click Use this photo, switch with Front camera or Back camera, or click Cancel. To take photos on the PC itself, see How to take a photo with a webcam.
Tips
-
Take the photo in good light, face to the camera, against a plain wall.
-
Auto-frame face and Automatic zoom of the photo object apply to the phone photo, as to every photo. See How to crop and zoom a photo on a card.
-
With Picture store Google Drive, the PC uploads the photo to Google Drive.
-
If a file with the new name is already in the folder, eMedia Cards adds a number in brackets to the name instead of replacing the file.
Common errors
| Symptom | Cause | Fix |
|---|---|---|
| The camera is not available. | The browser has no access to the camera. | Allow the camera for this page in the browser settings, or tap Choose photo. |
| Saved, but the photo could not be uploaded to Google Drive. | The photo is stored on Google Drive and the upload failed. | Check the Google Drive connection on the PC, then add the photo again. |