
How to add and customize QR codes on a card
What you'll learn
Add a QR code to the Emma Carter badge, change its module shape, eye shape and colours, put a logo in the middle, and choose what the code holds with Content type: a plain text or link, a website, a contact card, Wi-Fi access, an email, a phone call or a text message. Every code in the pictures on this page is real: scan it from your screen to try it.
Before you start
-
eMedia Cards Standard edition. QR codes and every Content type on this page are part of Standard.
-
The Emma Carter badge from How to create your first card, or any open card in Design mode.
-
The sample files of this article, in the download above, have the finished badge,
Northwind QR badge.eccs, with a styled Website QR code, and the logo file. -
A phone with a camera app to test each code.
How to add a QR code
-
In Design mode, click QR Code in the toolbar. A list of QR code types opens.
-
Click QR Code : Generic. A QR code named QRCode1 appears on the card and QR Code object properties opens.
-
Under Contents, in Data in this object, type the text or link to encode:
https://www.emedia.cards. Source stays on Fixed data. -
Under Size and position, set Left (mm) 55, Top (mm) 19, Width (mm) 28 and Height (mm) 28. Keep the width and the height the same: a QR code is square.
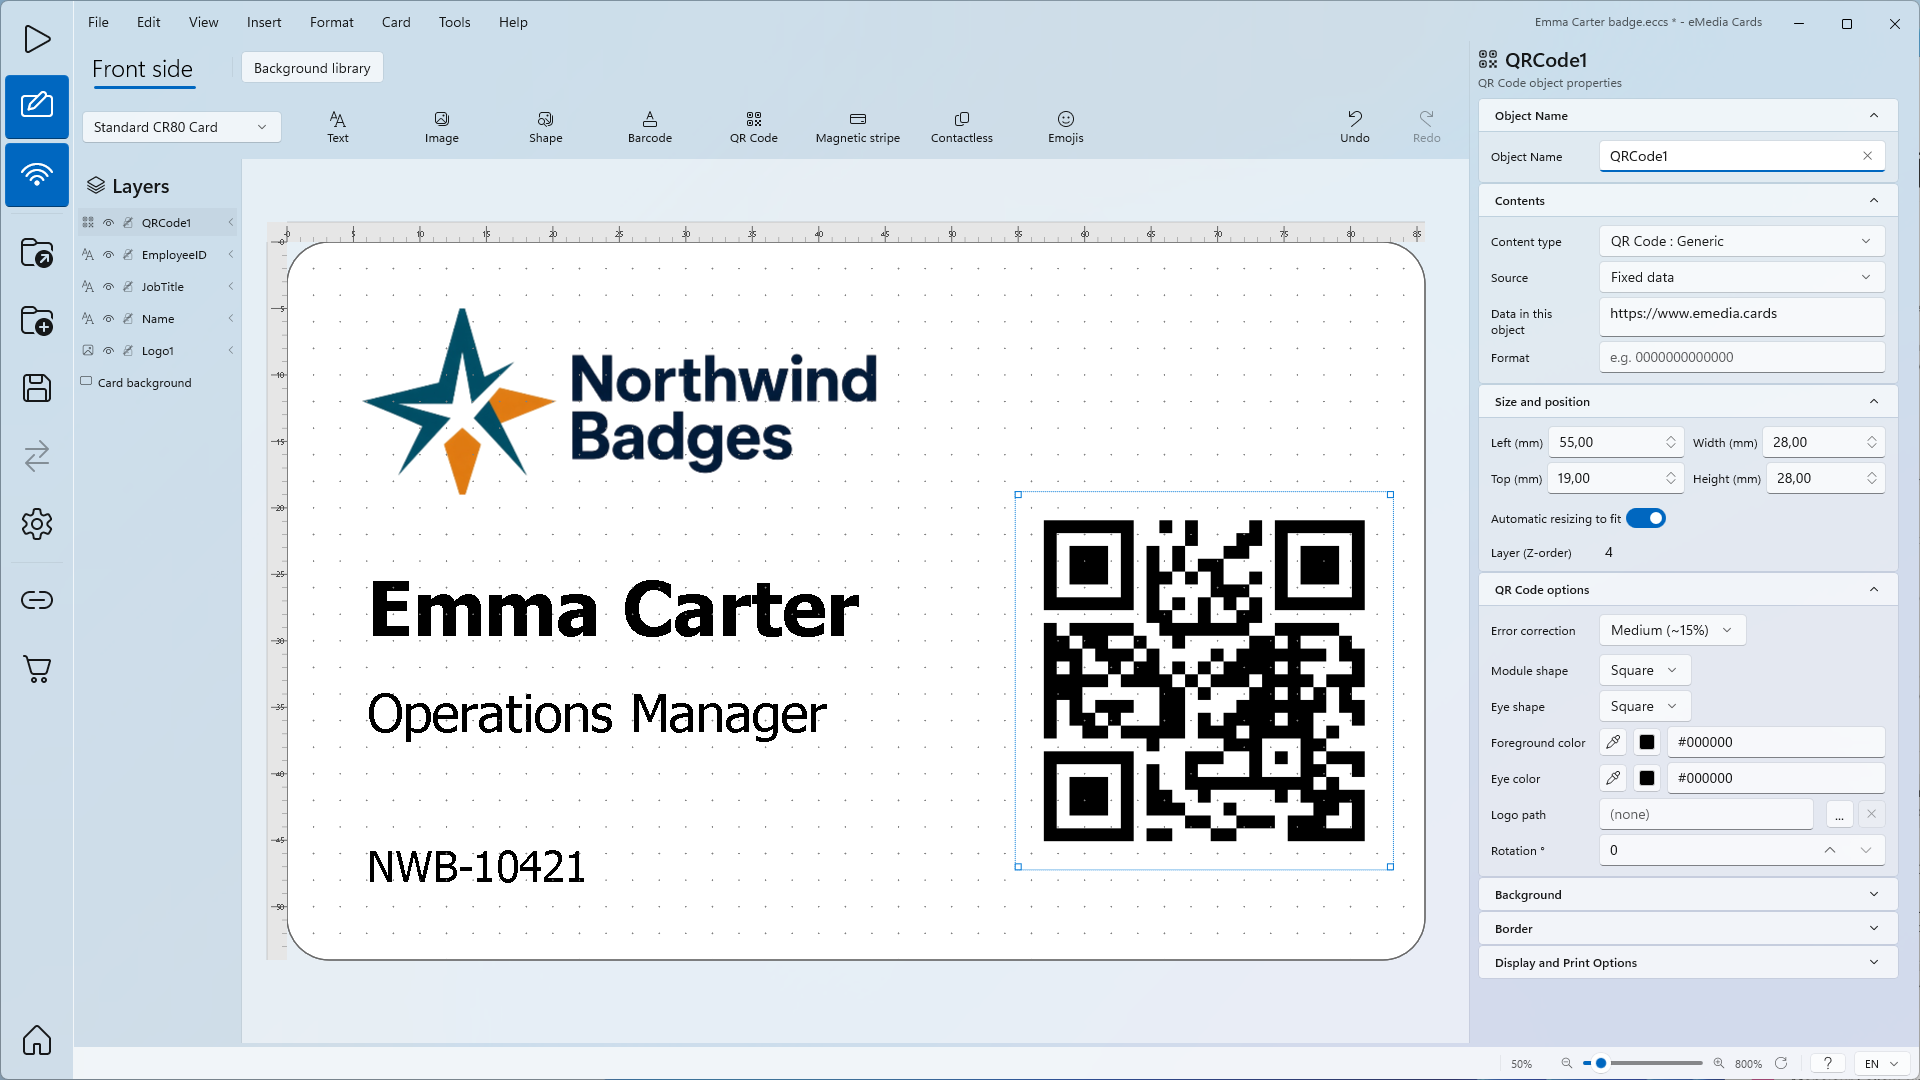
Scan the code on the screen with your phone: it opens https://www.emedia.cards.
How to change the shapes and colours
-
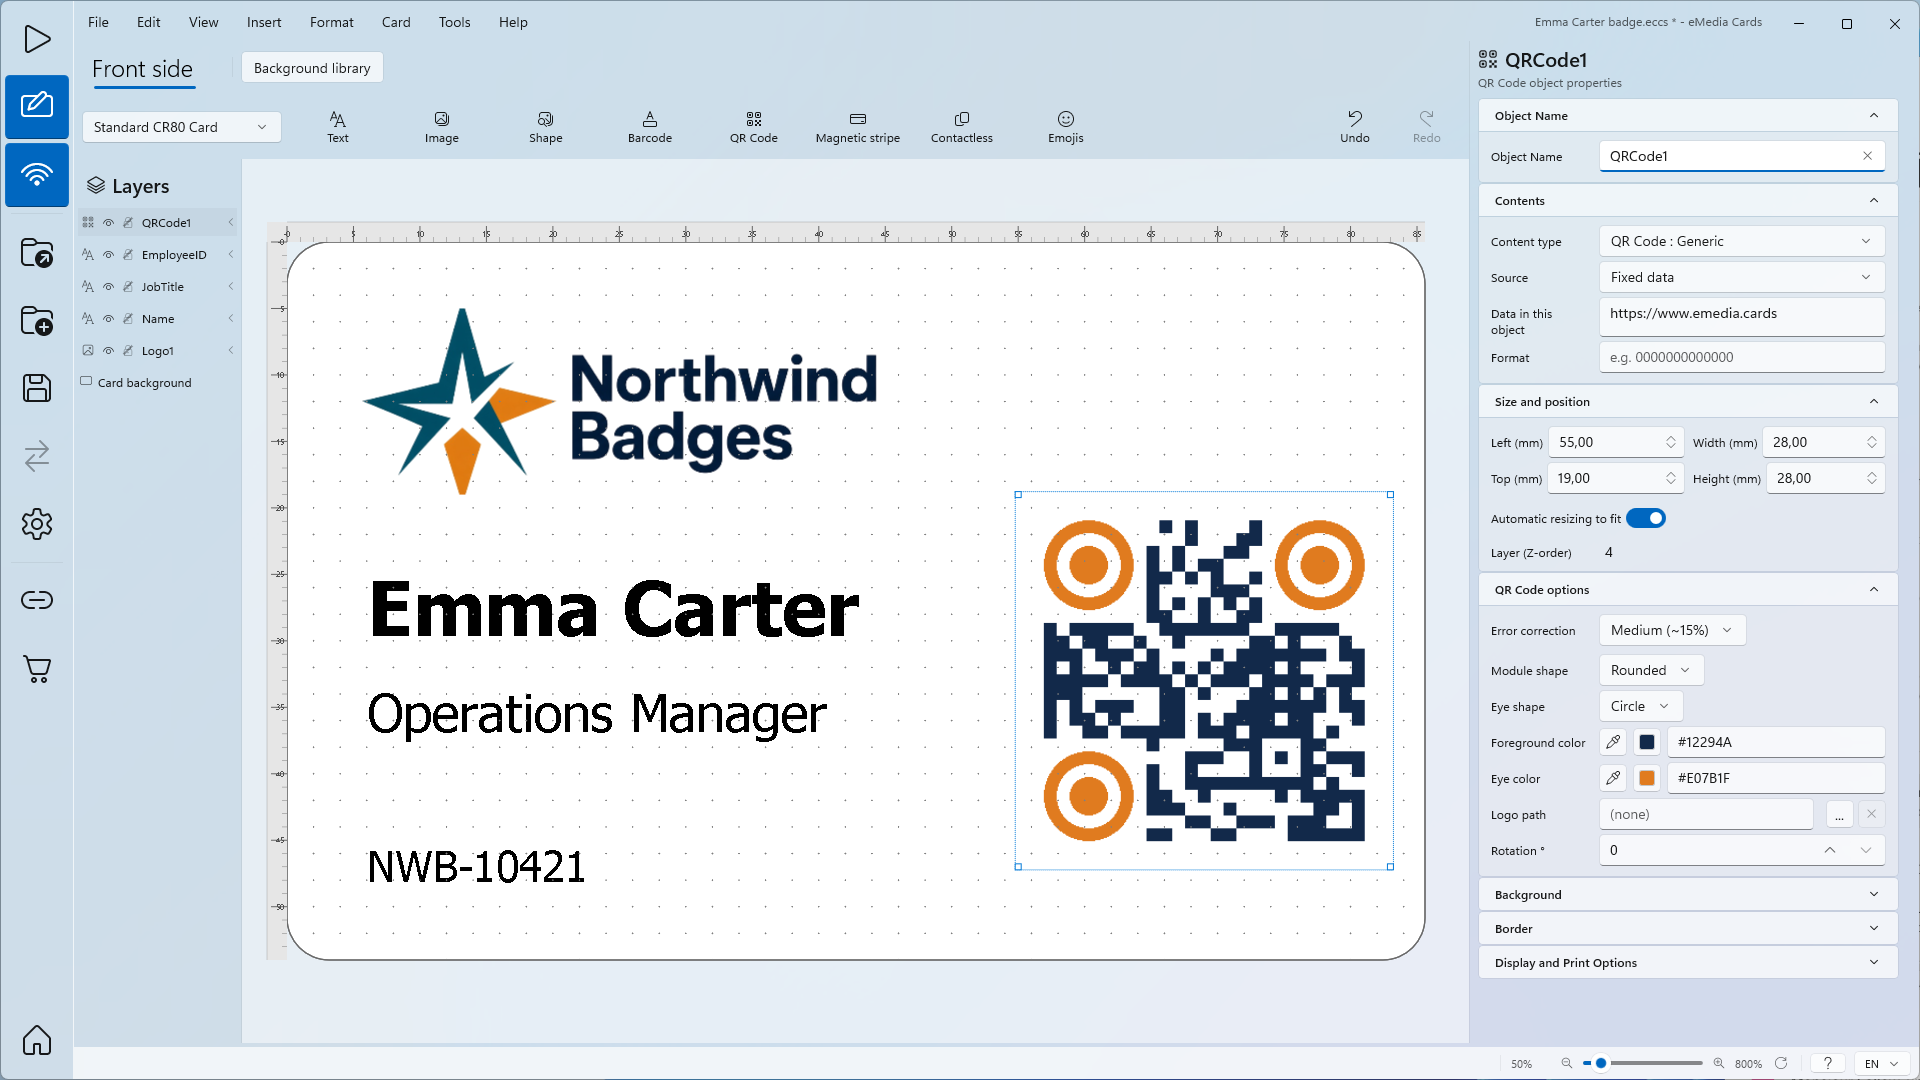
Under QR Code options, open Module shape and choose Rounded. The choices are Square, Rounded and Circle.
-
Open Eye shape and choose Circle. The eyes are the three large squares in the corners. The choices are Square and Circle.
-
In Foreground color, type
#12294A, a dark blue. You can also click the colour square to pick a colour, or the eyedropper to take one from the card. -
In Eye color, type
#E07B1F, the orange of the logo. -
Leave Error correction on Medium (~15%). See QR Code error correction. The choices are Low (~7%), Medium (~15%), Quality (~25%) and High (~30%): a higher level still reads when part of the code is damaged or covered, but makes the code denser.
How to add a logo in the middle
-
Next to Logo path, click ... and open your logo file, or
Northwind Badges logo.pngfrom the sample files. -
In the QR logo storage dialog, click Embed in template. The logo is saved inside the card file, so the card works on other computers. Link file only keeps only a link to the file on this PC.
-
Check Logo path: it shows
[In template]and the logo name. Error correction switches to High (~30%) and is greyed out, with the note High is required when a logo is set.
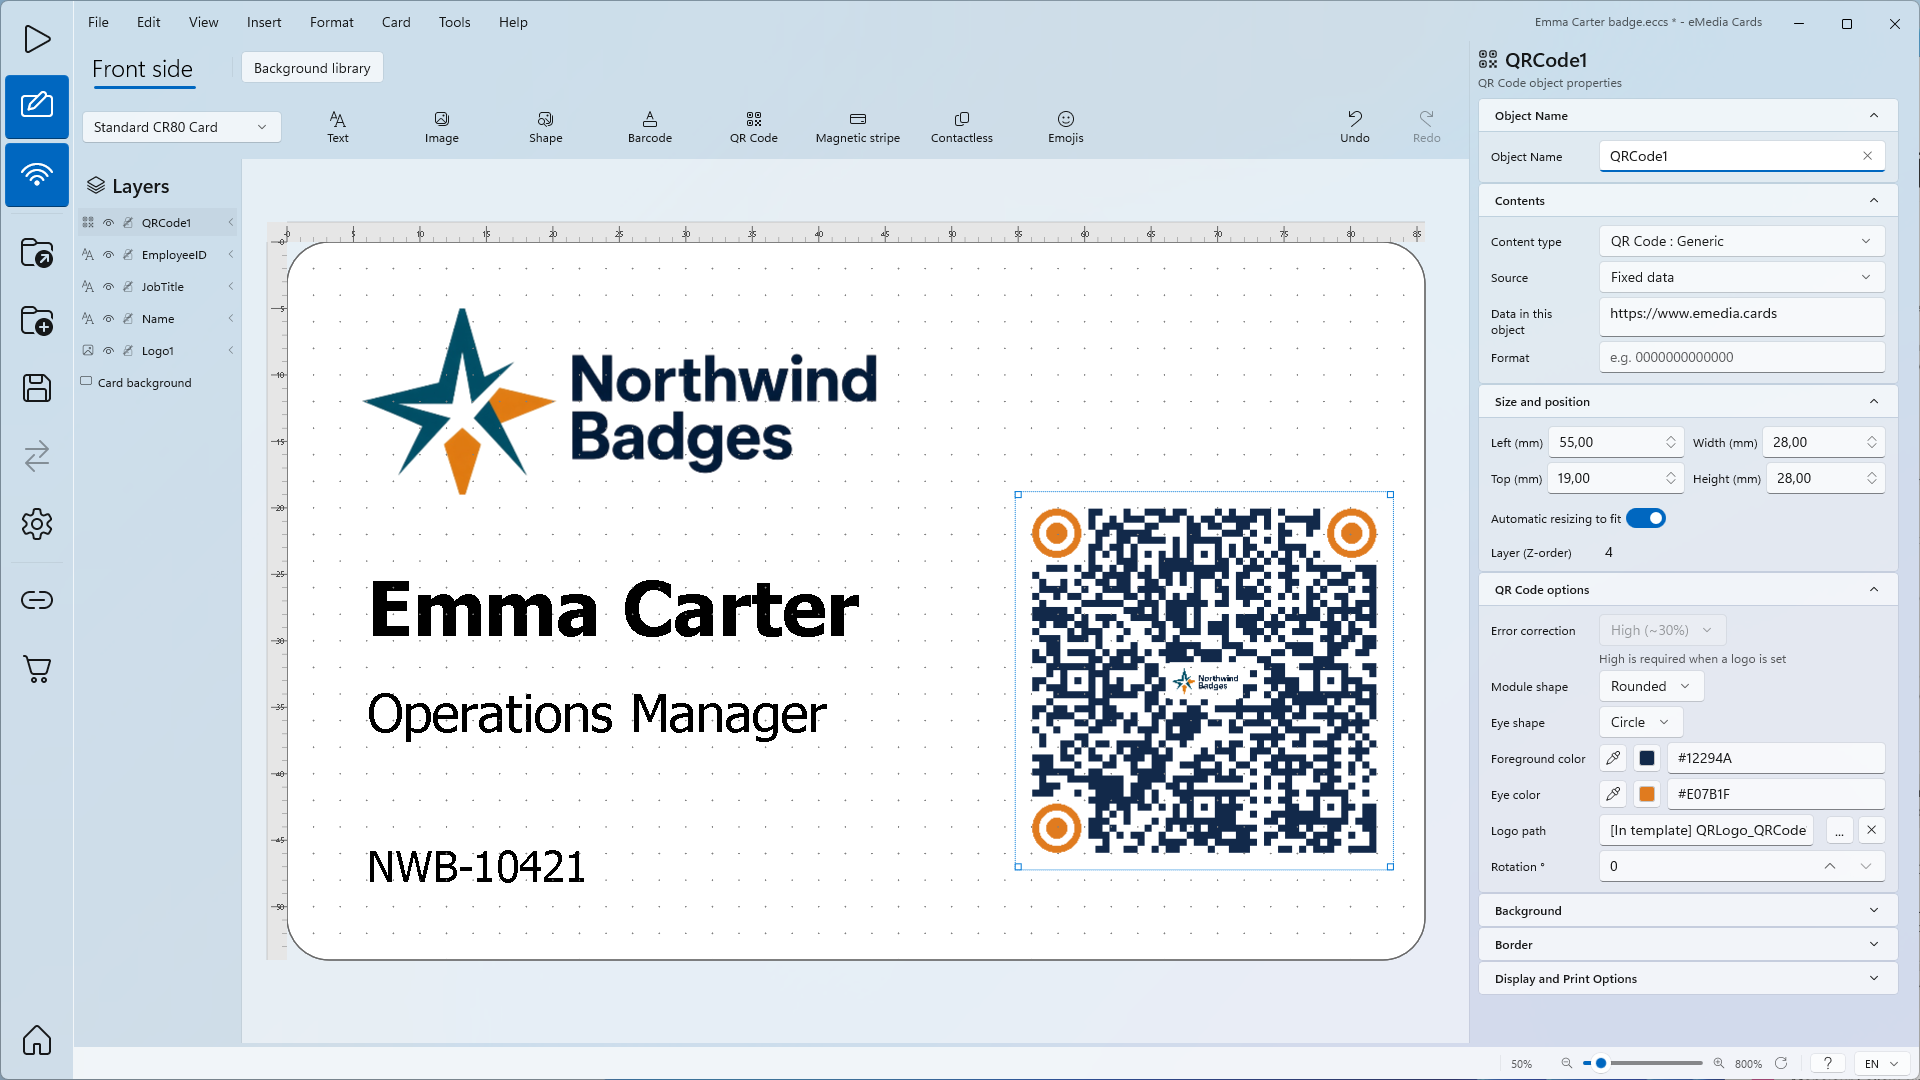
On a Mac, ... links the logo file: there is no QR logo storage choice.
To remove the logo, click Remove logo, the X next to .... Error correction comes back to your own choice.
A logo forces High (~30%), so the code gets much denser. The next pictures show the code without a logo, on Medium (~15%): it is easier to read when the code is small.
How to choose what the code holds
The Content type list builds the text inside the code for you. Pick a type, fill in its fields, and the code changes as you type. The same list opens from QR Code in the toolbar when you add a new code.
-
Under Contents, open Content type.
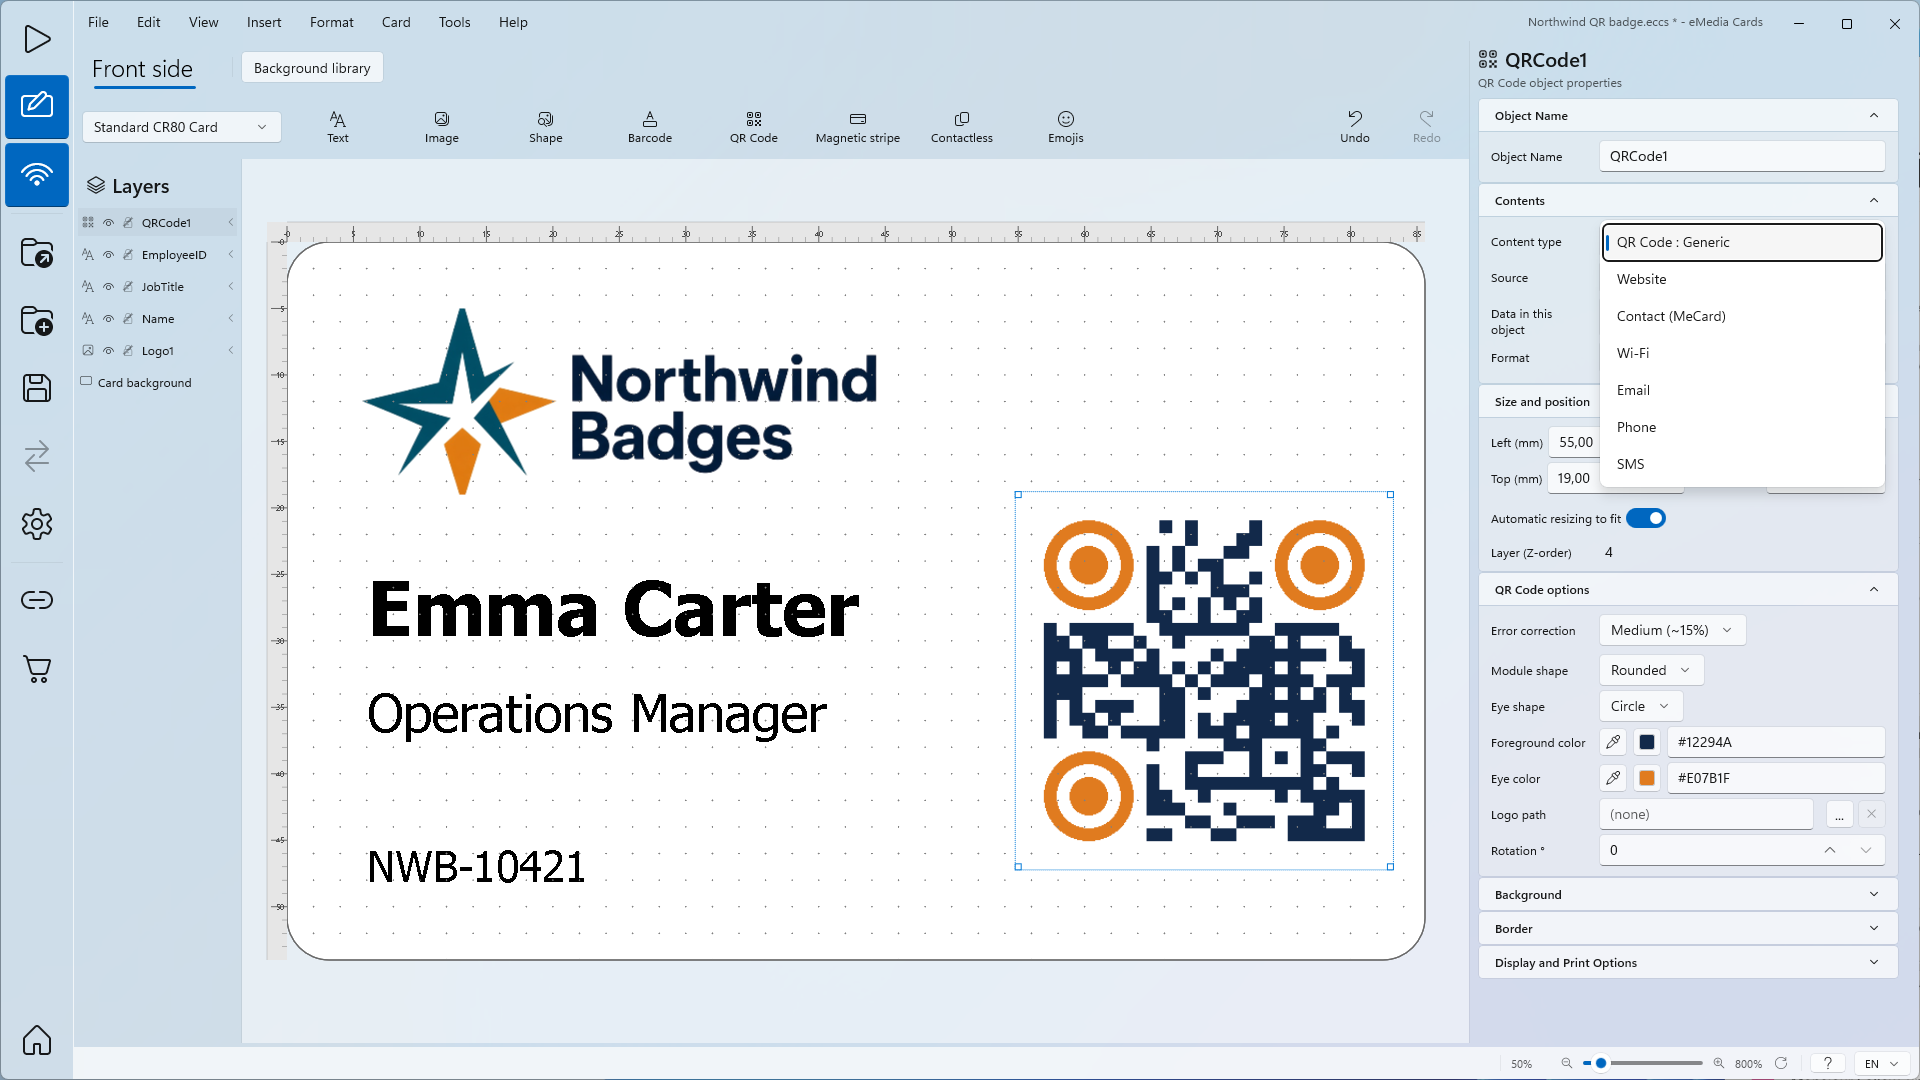
-
Choose a type and fill in its fields, as in the sections below. Each field has its own list, Fixed or Database: keep Fixed to type the value.
| Content type | Fields | What the code holds | What a phone does |
|---|---|---|---|
| QR Code : Generic | Data in this object | The text exactly as typed | Shows the text, or opens it if it is a link |
| Website | Internet link | The link. http:// is added when the link has no https:// or http:// |
Opens the page |
| Contact (MeCard) | Last name, First name, Phone 1 to Phone 4, E-mail 1 to E-mail 3, the address fields, URL, Birthday | MECARD:N:Carter,Emma;TEL:…;EMAIL:…;; |
Offers to add the contact |
| Wi‑Fi | SSID, Password, Security, Hidden SSID | WIFI:S:…;T:WPA;P:…;H:False; |
Offers to join the network |
| Recipient e-mail address, Subject, Message | MATMSG:TO:…;SUB:…;BODY:…;; |
Opens a new email | |
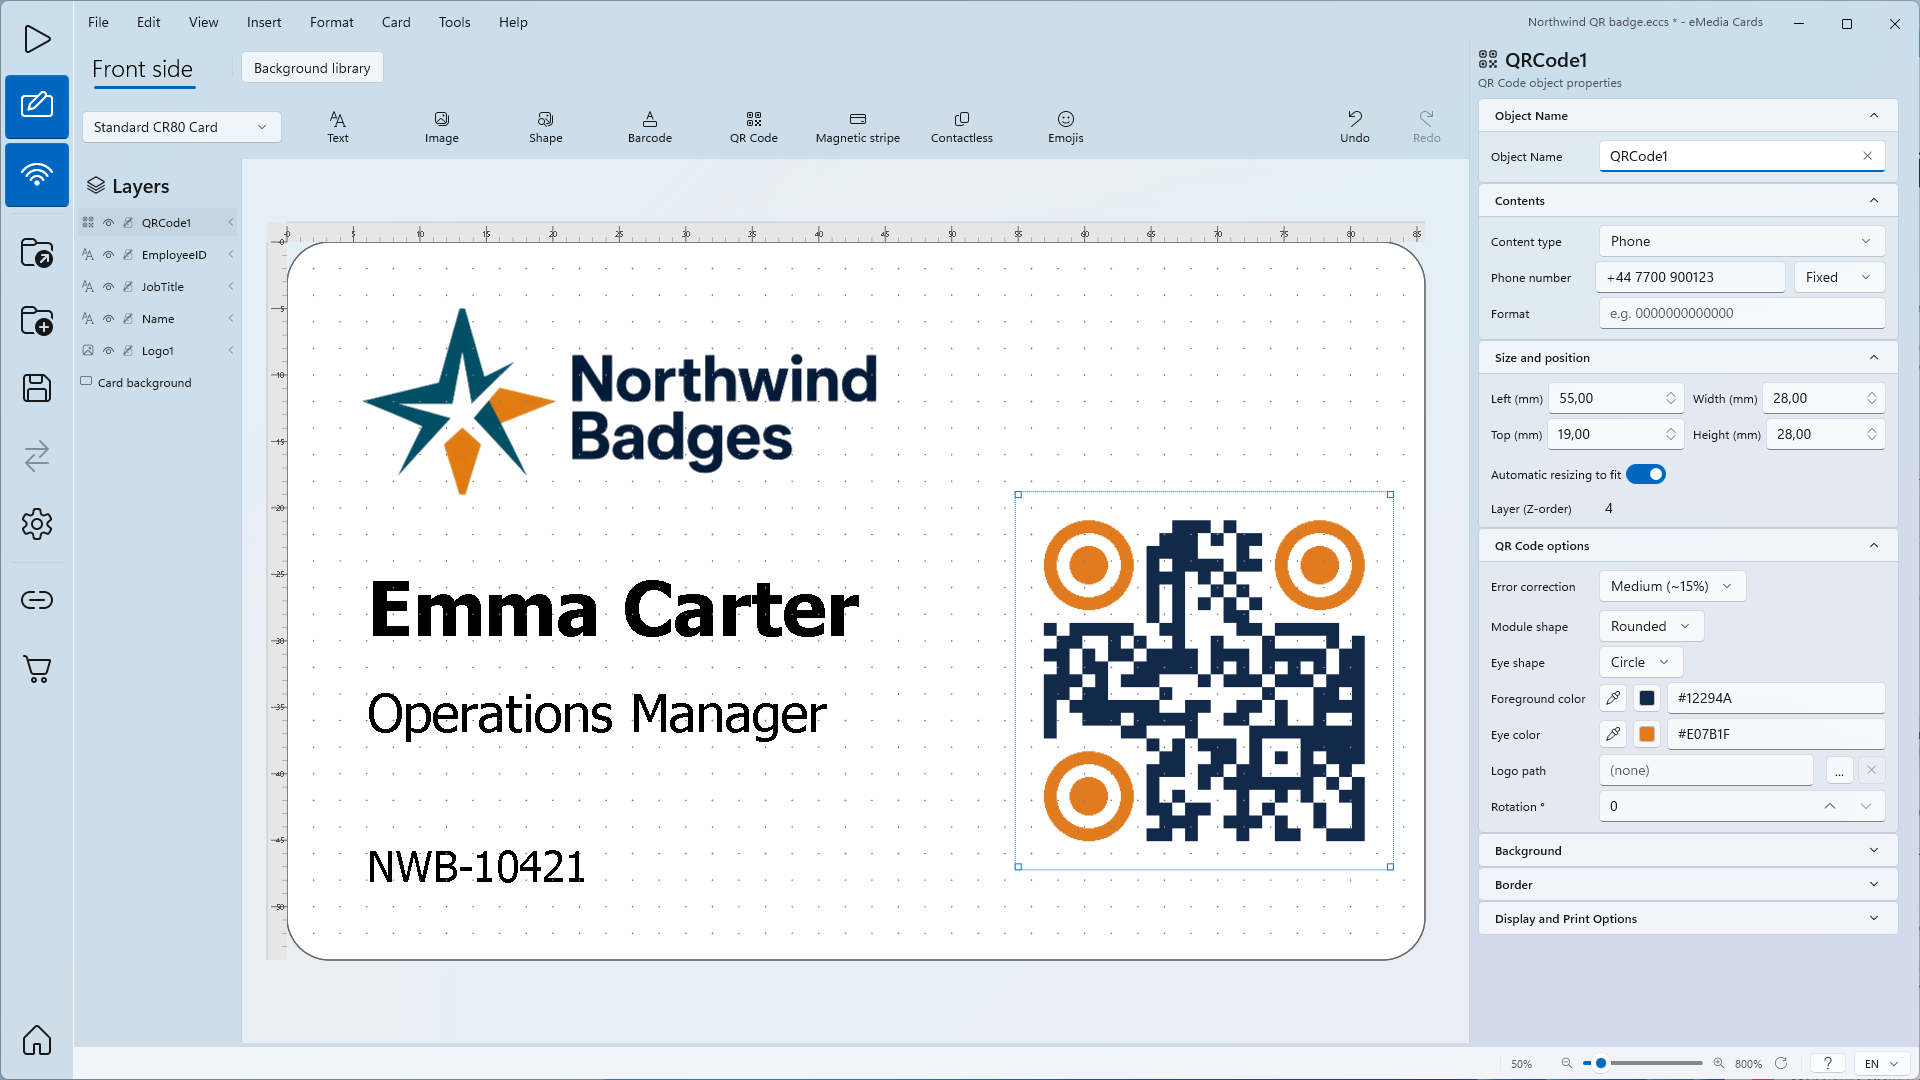
| Phone | Phone number | TEL:+44 7700 900123 |
Offers to call the number |
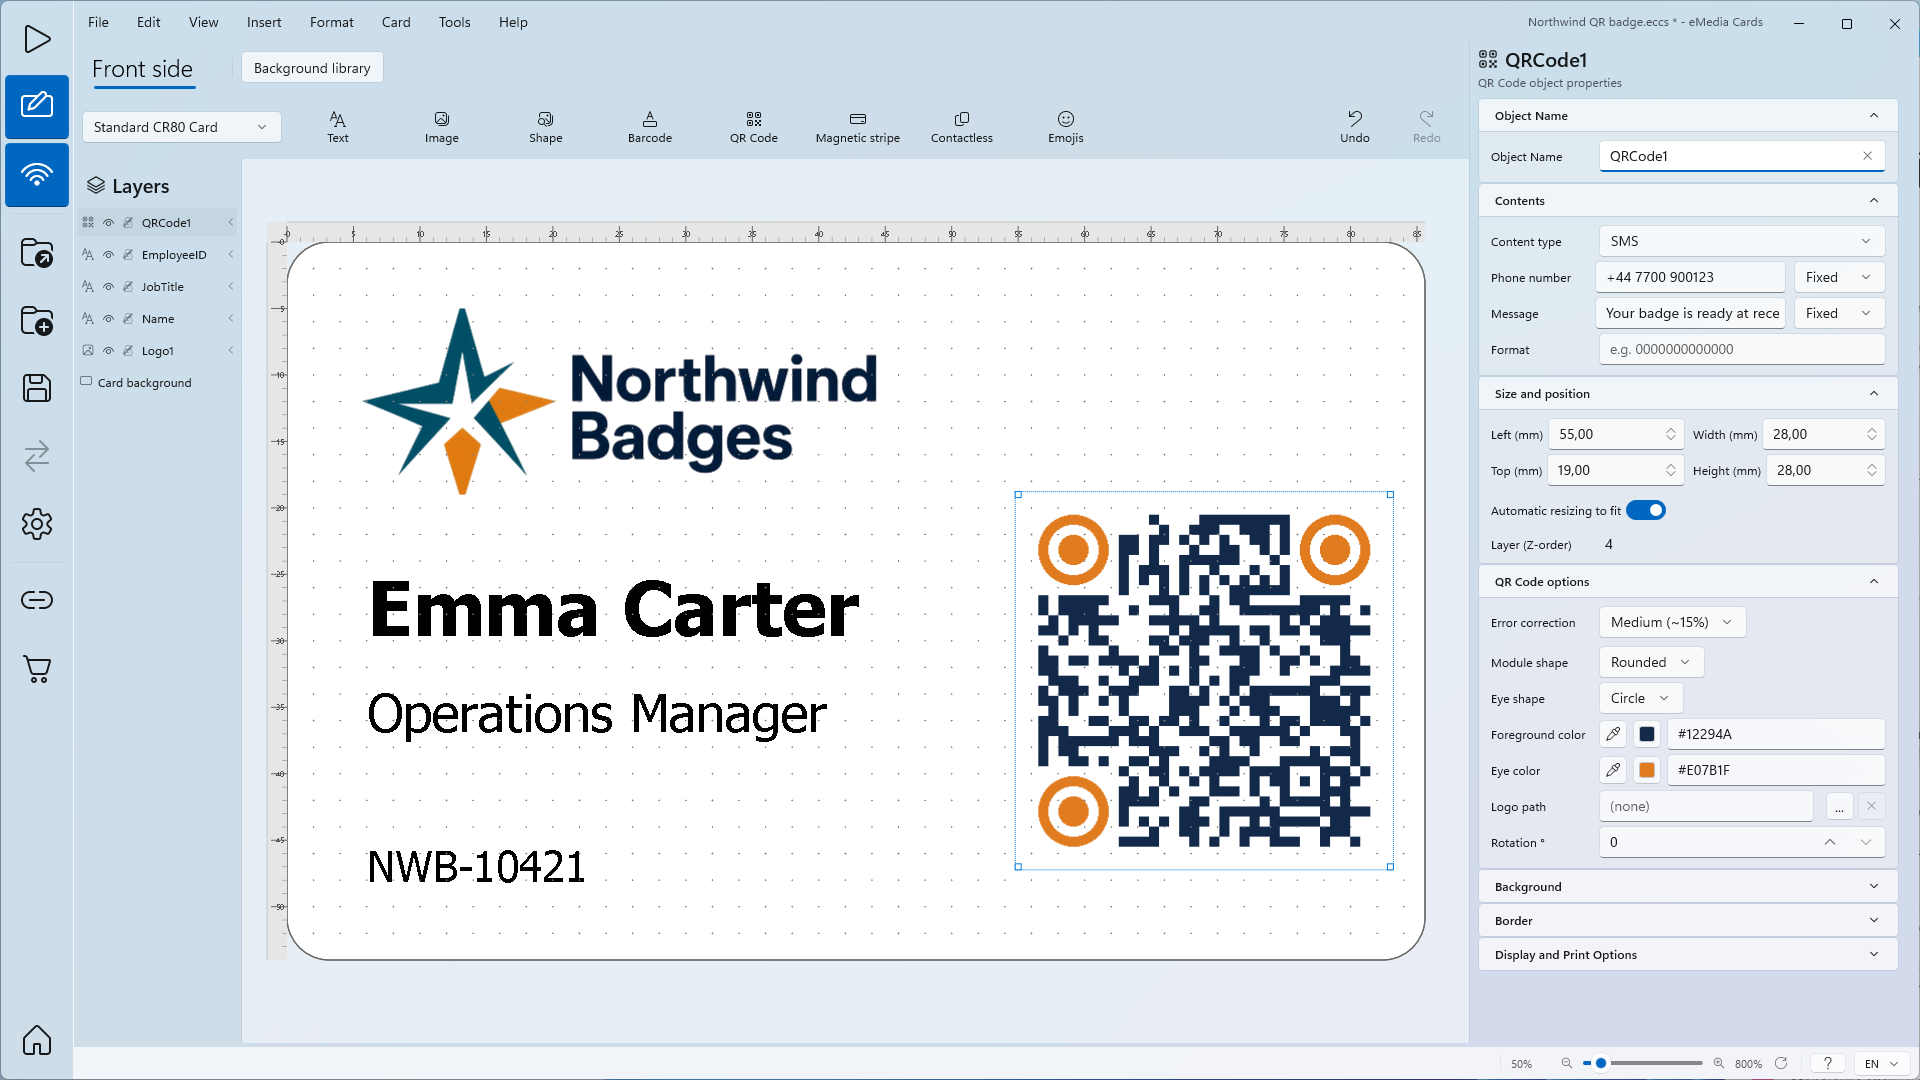
| SMS | Phone number, Message | SMSTO:+447700900123:… |
Opens a new text message |
Website
-
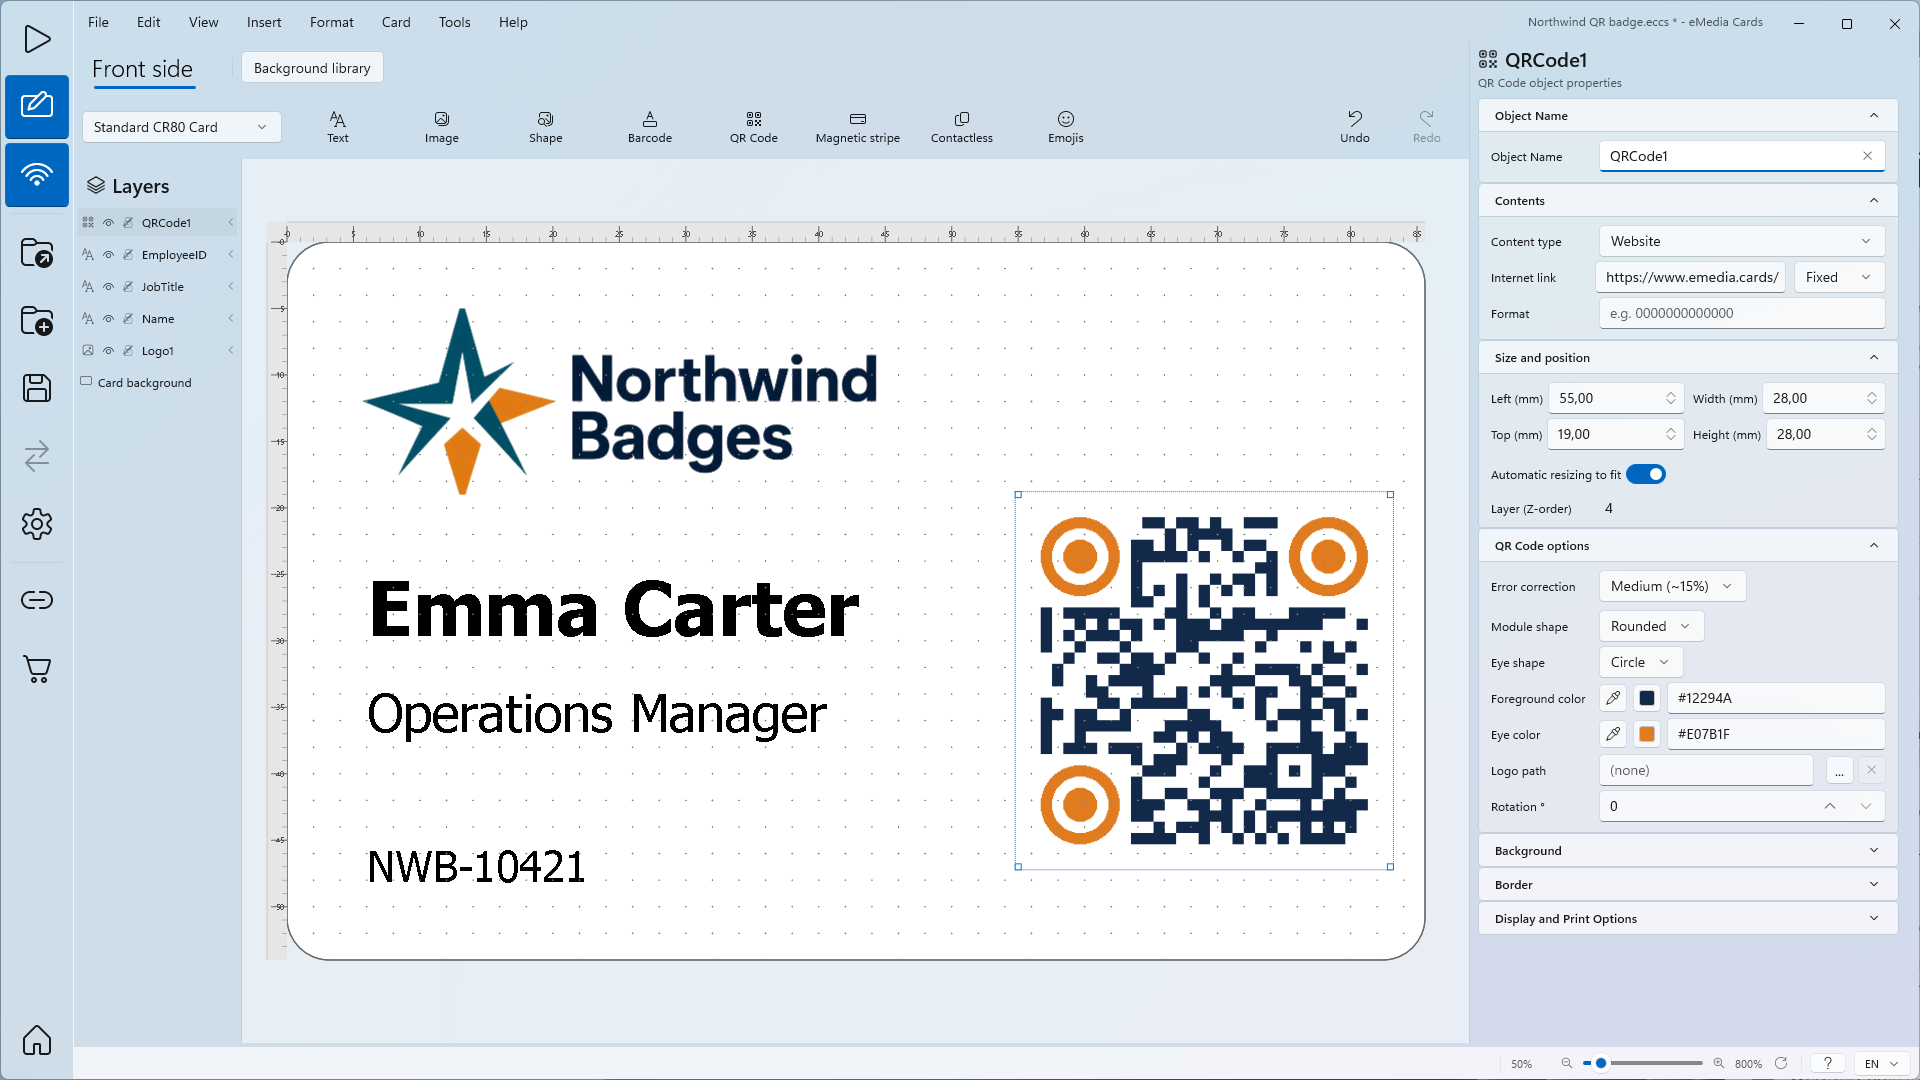
In Content type, choose Website.
-
In Internet link, type the full address:
https://www.emedia.cards/support/kb/.
Contact (MeCard)
-
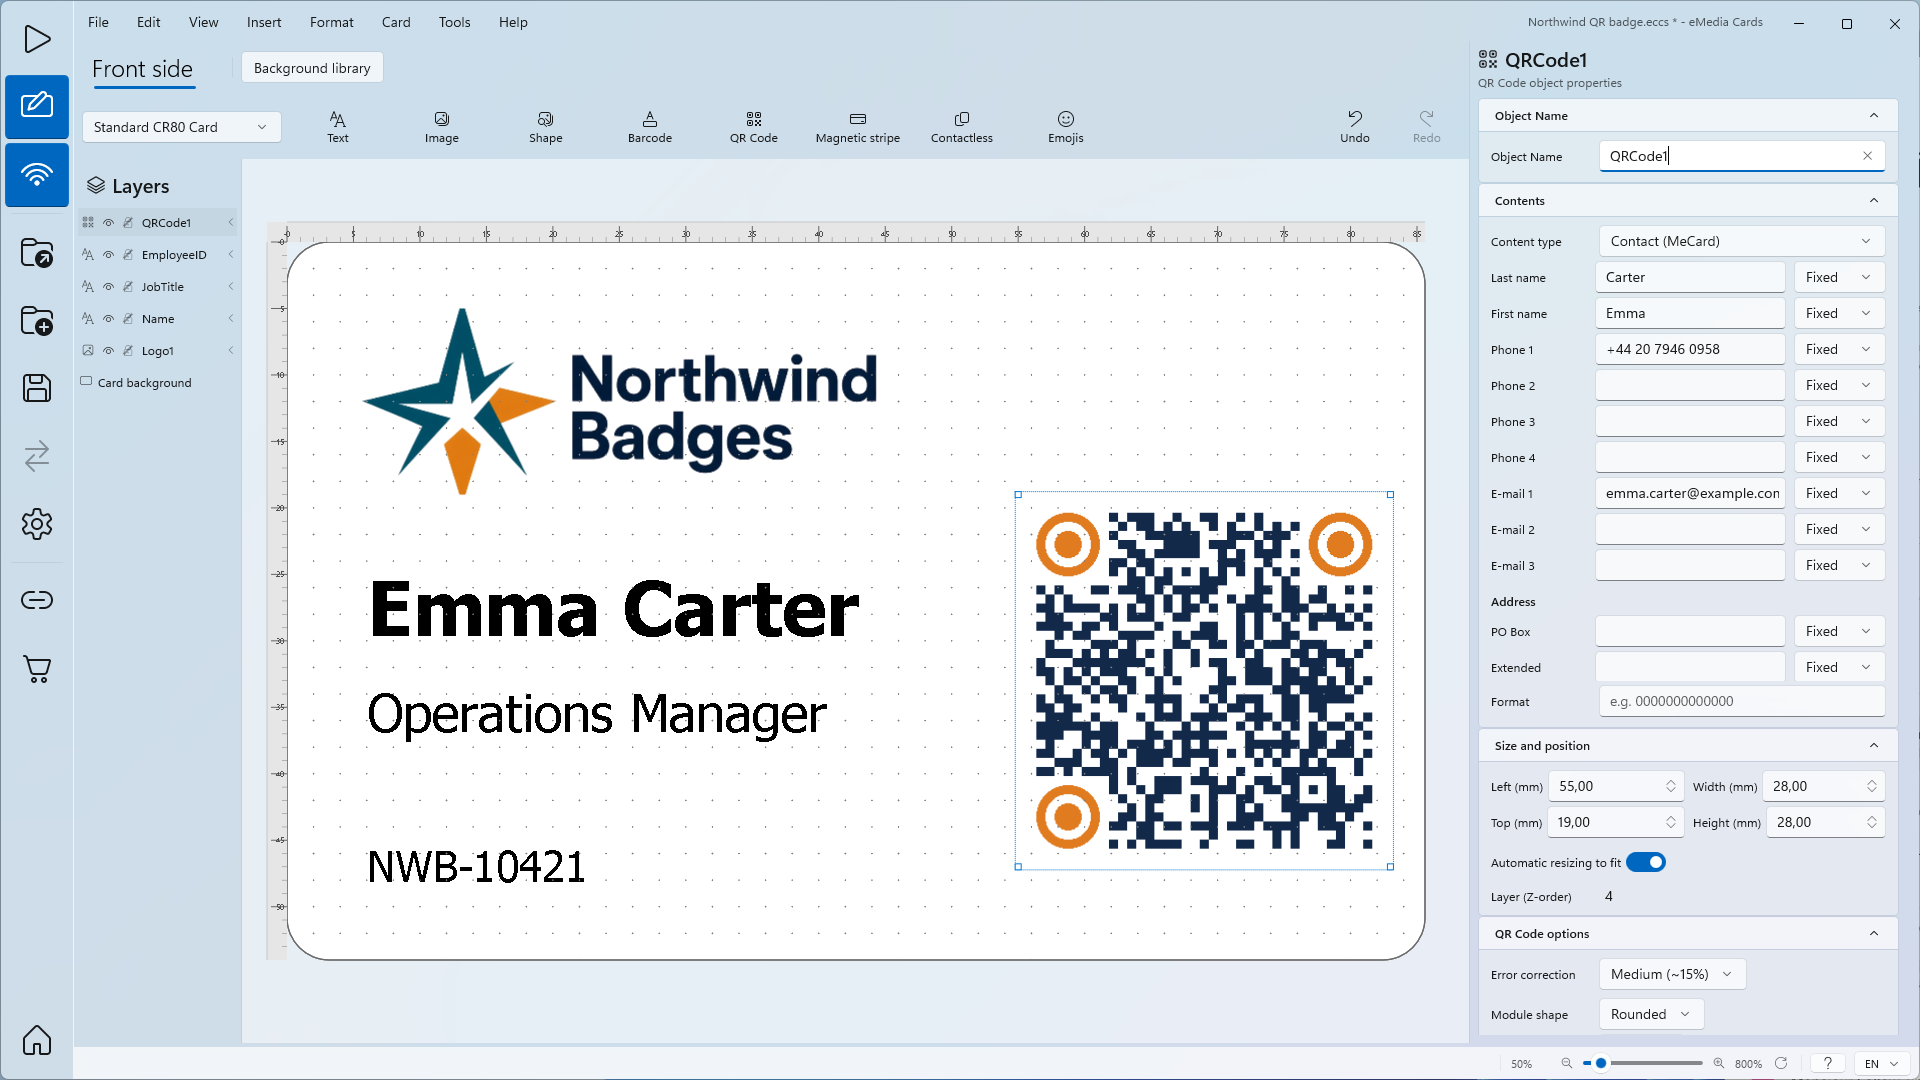
In Content type, choose Contact (MeCard).
-
Fill in Last name
Carter, First nameEmma, Phone 1+44 20 7946 0958and E-mail 1emma.carter@example.com. Leave the other fields empty: empty fields are left out of the code.
Wi-Fi
-
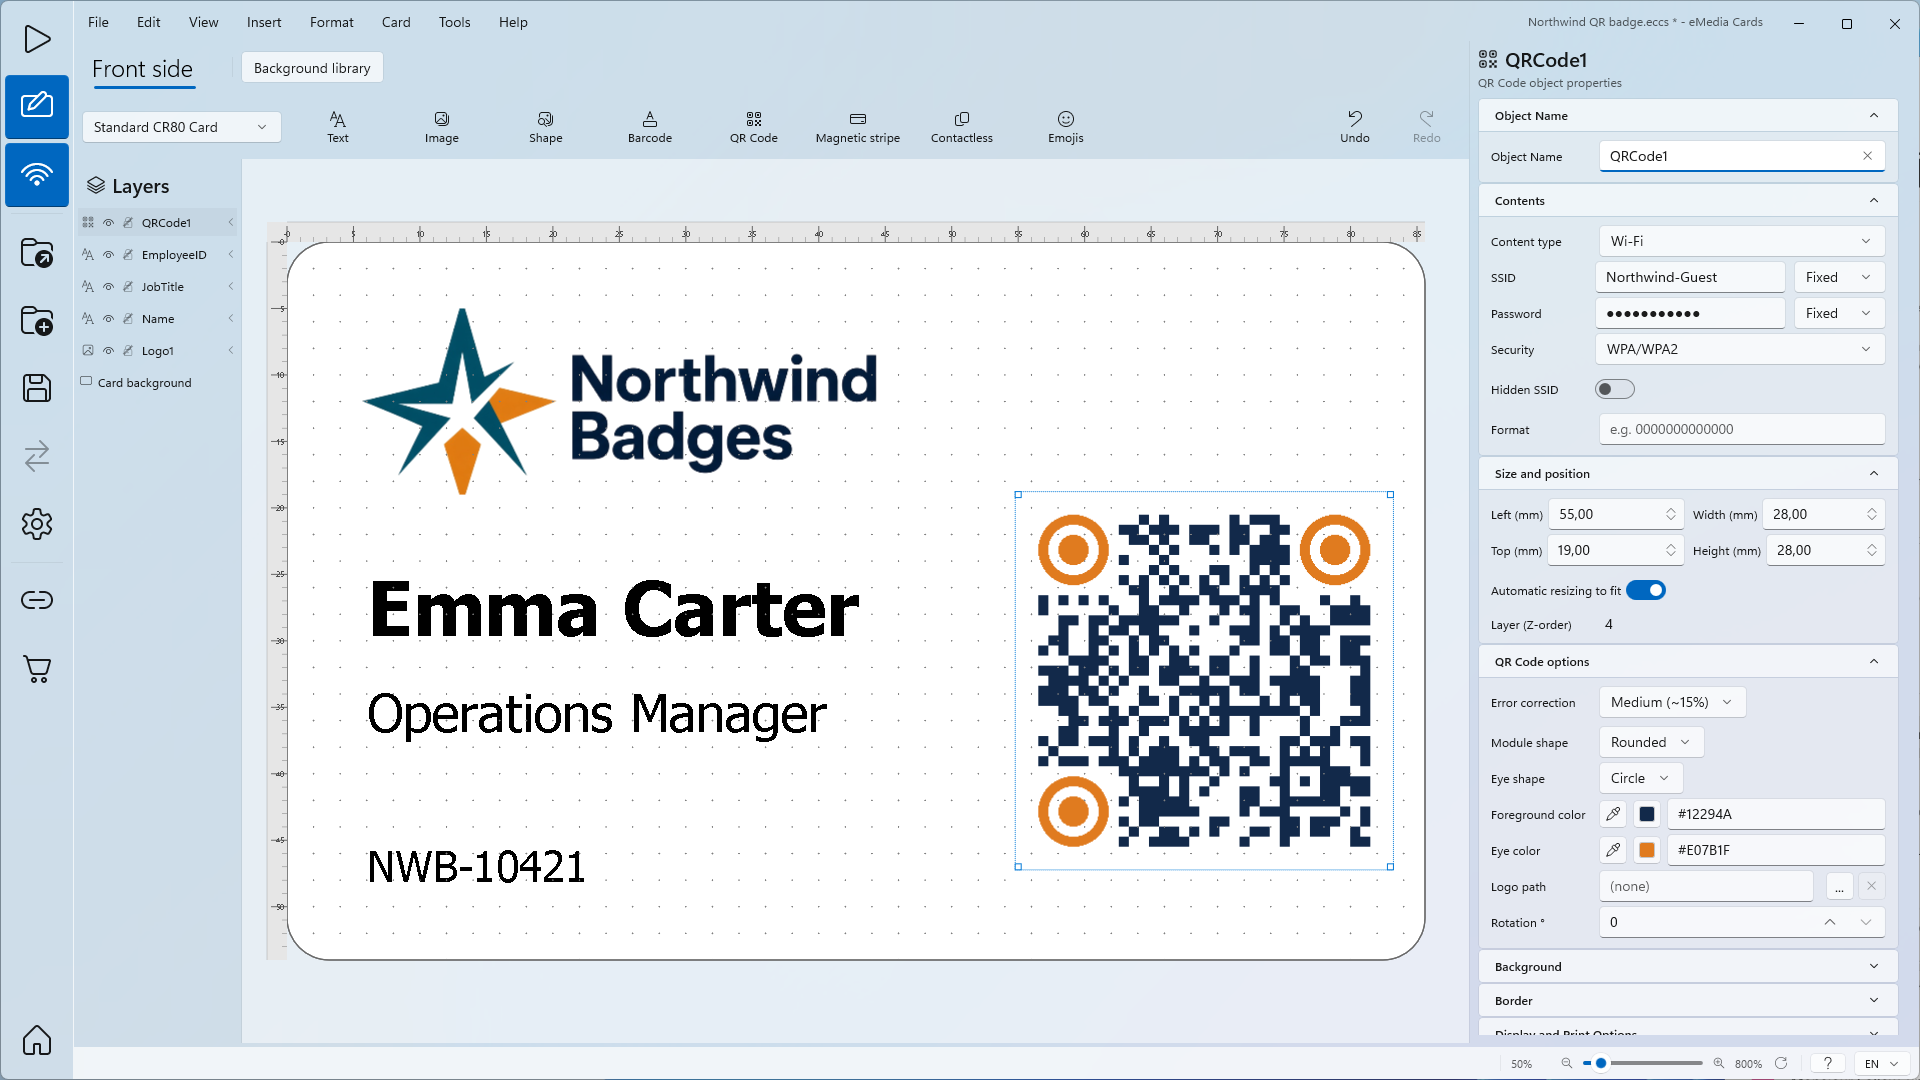
In Content type, choose Wi‑Fi.
-
In SSID, type the network name:
Northwind-Guest. -
In Password, type
Welcome2026, the network password. The box hides it, but the code holds it in clear text. -
In Security, choose WPA/WPA2. The other choices are WEP and None/Other.
-
Leave Hidden SSID off unless the network does not broadcast its name.
-
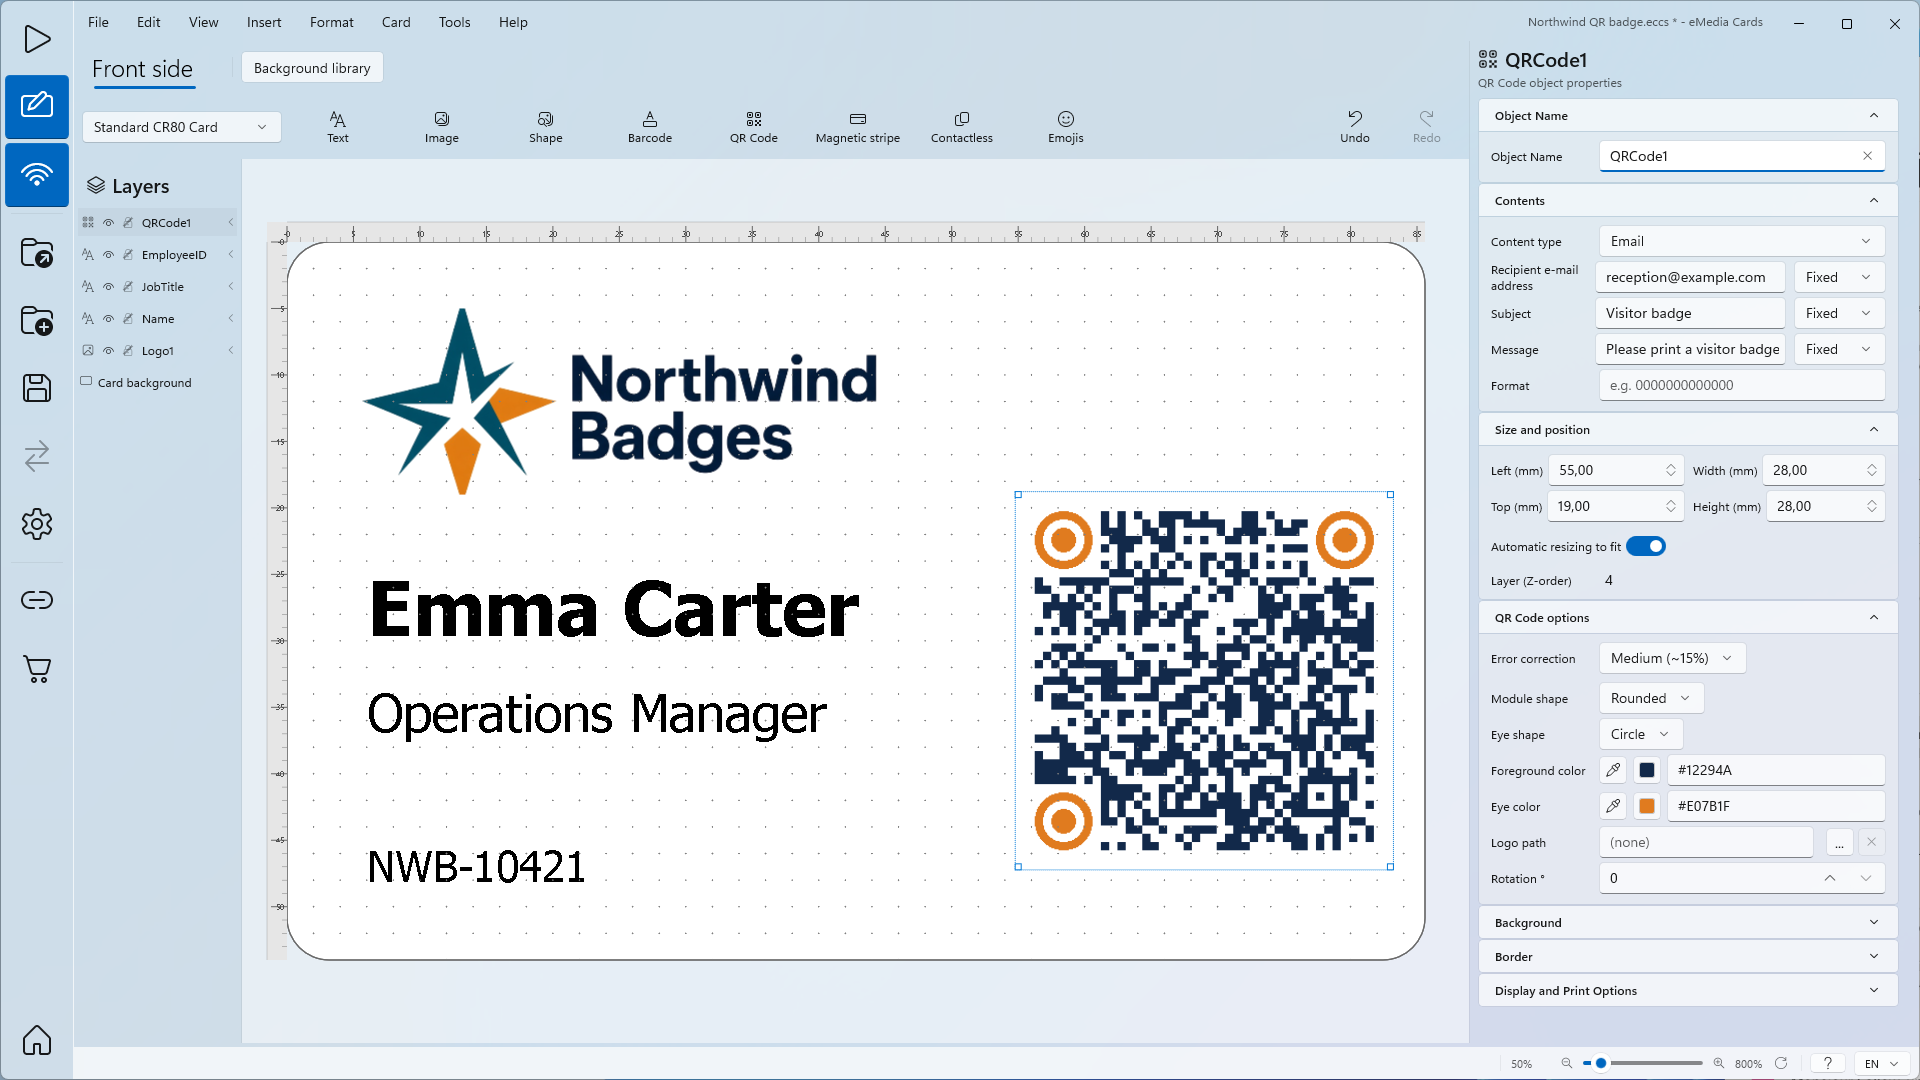
In Content type, choose Email.
-
Fill in Recipient e-mail address
reception@example.com, SubjectVisitor badgeand MessagePlease print a visitor badge..
Phone
-
In Content type, choose Phone.
-
In Phone number, type
+44 7700 900123. SMS uses the same number.
SMS
-
In Content type, choose SMS.
-
Check Phone number:
+44 7700 900123, the number of the Phone type. Spaces are removed in the code. -
In Message, type
Your badge is ready at reception..
Tips
-
Scan every code with a phone before you print a batch, from the screen and then from a printed test card.
-
Keep a dark Foreground color and Eye color on a light Background. Light codes on a dark background, or low contrast, are harder to read.
-
Leave the logo out of small codes: a logo forces High (~30%) error correction and makes the code much denser.
-
A longer text makes a denser code. Make the code larger, or shorten the text, when a phone has trouble reading it.
-
Each content type keeps its own fields, so you can switch Content type and come back without retyping. Website and Contact (MeCard) share the link field, and Phone and SMS share the phone number.
-
To put a different code on each card, choose Database in the list next to a field, or set Source to Database field for QR Code : Generic. See How to connect a card template to a CSV file.
-
Rotation °, Background, Border and Display and Print Options work as for other objects.
-
vCard, calendar and map location codes are built with formulas, which need the Professional edition. On Standard, Contact (MeCard) covers contact cards.
Common errors
| Symptom | Cause | Fix |
|---|---|---|
| A phone does not read the code. | The code is too small or too dense, or the colours are too light. | Make the code larger, shorten the text, or use darker colours on a light background. |
| Error correction is greyed out. | A logo is set: the code must use High (~30%). | Click Remove logo to choose another level. |
| The logo is missing on another PC. | The logo was added with Link file only. | Click ... again, choose the logo and click Embed in template. |
The website opens with http:// instead of https://. |
Internet link has no https://. |
Type the full address, starting with https://. |
| Internet link is empty after switching from QR Code : Generic. | Data in this object belongs to the Generic type only. | Type the link again in Internet link. |
| Choosing Formula in Source shows an edition message. | Formulas are part of the Professional edition. | Use a Content type instead. |